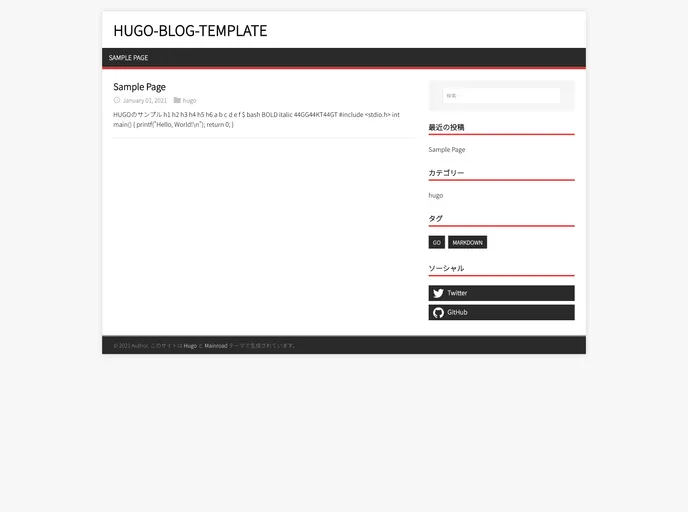
Overview
This is a template for creating a blog using topHUGO that allows for easy setup and deployment. It provides features such as automatic deployment using GitHub Actions and publishing on GitHub Pages.
Features
- Fork and Go: Simply fork the template and you’re ready to go.
- Automated Deployment: Uses GitHub Actions for seamless deployment.
- Publish on GitHub Pages: Easily publish your blog on GitHub Pages.
- Customizable Configuration: Edit the config.toml file to configure your HUGO settings.
- Preview Your Page: Use the
hugo serve command to preview your page. - Custom Avatar Image: Place your avatar image at
static/img/avatar.png. - Theme Color: Specify the theme color by using the
#rrggbb format. - Social Media Integration: Display your social media usernames or account IDs in the sidebar.
Installation
To install the topHUGO template, follow these steps:
- Fork the template repository on GitHub.
- Edit the
config.toml file to configure your HUGO settings. - Place your avatar image at
static/img/avatar.png. - Specify the theme color using the
#rrggbb format. - Enter your social media usernames or account IDs in the provided fields.
- Push the changes to your remote repository.
- GitHub Actions will automatically build the page and commit the build result to the
gh-pages branch. - Open the repository’s Settings tab and navigate to Pages.
- Change the branch to
gh-pages and save the settings. - Wait for approximately 10 minutes for the changes to take effect and your page to become accessible.
Summary
The topHUGO template provides a convenient solution for creating a blog using HUGO. With features like automated deployment, easy configuration, and GitHub Pages integration, it simplifies the process of setting up and publishing a blog. By following the installation guide, users can quickly get their blogs up and running.